

I thought the Weekender was a bit much to be asking for. Well, it turns out that no one was asking for it...it was just a conversational thread about the bag and how they loved it. So I got my panties in a wad all on my own. LOL
I saw some really neat quilt as you go versions of the bag and fell in love...instantly. So I ordered the pattern. Once I received the pattern and opened it up I immediately FREAKED OUT! What was I thinking!?!! There are two pages..not small pages but BIG pages of instructions..which after I settled down, I became grateful for. The instructions are pretty good. I did make some changes.... I used my Pellon Fusible Fleece that I use for totes and pouches, 986F (You can purchase that for a decent price at JoAnns if you wait for a coupon it's a steal of a deal! My sister and I bought a bolt and split the cost.) instead of all the interfacing's that she used. It gave the bag more softness and not a stiff suitcase appearance. My zipper was 2" shorter which keeps you from having to dig into the side pockets for the zipper pull.... I just modified the zipper insertion by an inch on either side... I didn't have this brilliance on my own...no, not at all. I asked the girls at JoAnns... heck, I didn't even know what a separating zipper was! LOL Those girls were a wonderful resource.. I am thankful to them!
I also made my straps much longer so you can easily carry the bag over your shoulder. I did get my partner's feedback first to see if longer was what she wanted.
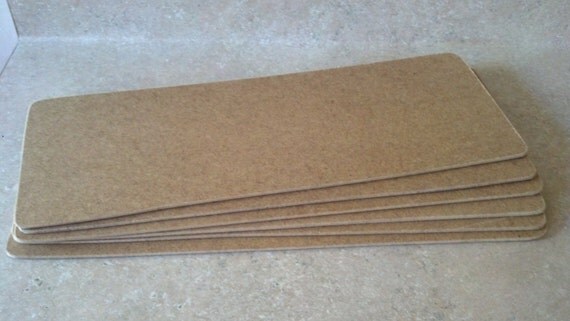
The pattern calls for you to use template plastic for the false bottom... I didn't have any and that seemed like it would be a bit flimsy so I cut a piece of thick cardboard to size and created a batting sleeve (this is in the directions) and then put my false bottom lining fabric around it. It was pretty. I really liked it. As I was searching a for the pattern link (on Etsy) I came across this ... masonite precut for the weekender bag. How awesome! Very sturdy and if you wanted to make it a permanent bottom you could add feet!
Well, enough jibber jabber! Here are some pics of my version of the Weekender Bag:
 |
| Finished Weekender posing with the journal cover I made for my Sew Sew Modern Swap partner. |
 |
| Side view of weekender. |
 |
| Inside view of the large front pocket. |
 |
| Inside view of the side pocket. |
 |
| Inside the bag showing the lining without the false bottom in place. |
 |
| Inside the bag with false bottom in place. |
 |
| The zipper... to the right is a sneak of the directions... tiny print! Wear your glasses!! |
My partner received her parcel yesterday and she loved it! She has a wonderful blog called Pile O'Fabric. You just have to go check it out. She is currently hosting a Skill Builder, which of course, I am behind on... so I better get crackin' !!
Here's to happy sewing!!
And a beautiful bag it is!! You did an amazing job and I am so proud of you!!
ReplyDeleteThat is fantastic. I'm too scared to try zippers and as for piping !!! Well done on such an brill' project.
ReplyDeletePolly
xx
Hi Polly!!! The zipper on this was super duper easy... it was much easier than some of the pouches I made. I challenge you, dearest Polly, to try a zipper! lol You will be hooked forever!!
DeleteGreat hearing from you!!!!!
xoxo
well i think you did a fantastic job on this bag ............i have looked at the quilt as you go bags too but until i get a better machine i wont be making this bag but when i do i will ask a bunch of questions !!!
ReplyDeleteAsk away Linda!! I will definitely be making another one. It wasn't nearly as bad as it seems. :D
DeleteThat looks amazing! Well done for not only getting through it, but doing it with style!
ReplyDeleteOMG how did I miss this blog post, its gorgeous, I love it, I so want one of these bags! I love your version, you gave it away? your one generous lady, oh gosh I must stop drooling.
ReplyDelete